Step 1: Gather your materials.

You'll need a sheet of shrink plastic (they cost around $5 for a six-pack), some scratch paper, fine-point and fat Sharpies, a good pair of scissors, and source material. Oh, and a hole punch. If you're making a charm bracelet, you'll need a blank bracelet, large and small jump rings, and jewelry pliers.
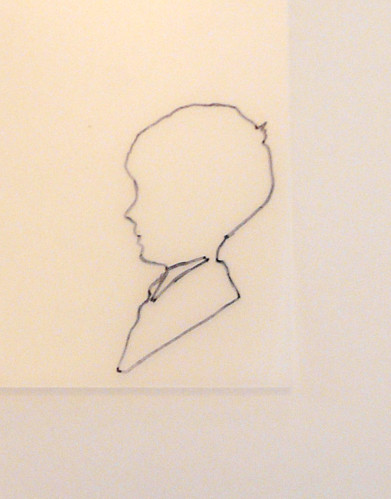
Step 2: Trace the image you want to make into a charm.
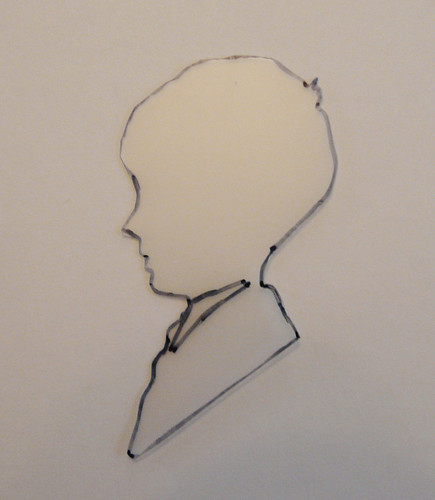
Step 3: Cut out your shape.
Step 4: Color in your shape on both sides with your fat Sharpie. The quarter is so you can get a good idea of how big it is.

Step 5: Punch a hole in your shape (this is IMPORTANT!), and then into the oven it goes. I use my toaster oven, which there will be no picture of because it is kind of grody. Keep an eye on your shape while it shrinks; it should curl up at first, then flatten out. When it's flat again, it's done and you can take it out. Pop it in the fridge for a minute if you're impatient, and here's what you get:

See how much it shrinks? Now that you're done, you can make your charm into a necklace pendant, or attach it to a bracelet or earring. For that, you'll need jump rings, which are pretty easy-- just bend them open with the pliers, slip on the charm, and close again. I used a small jump ring on the charm itself, and a larger one to attach it to the bracelet.
And that's it! Now you're ready to make jewelry of your own.


wow that is easy, what a great craft project
ReplyDeleteoh how lovely! you make it look easy!
ReplyDelete